Why Use Plastic 3D Printed Components to Solve Real Manufacturing Bottlenecks?
Plastic 3D Printed Components can feel like magic—until a prototype warps, a snap-fit fails, or a “simple” redesign triggers another week of delays. If you’re trying to move fast without sacrificing function, you need more than a machine that prints plastic. You need the right materials, the right design rules, and a predictable path from concept to production.
Abstract
This in-depth guide explains how Plastic 3D Printed Components can reduce development cycles, cut tooling risk, and unlock complex geometries that are difficult or expensive with traditional methods. You’ll learn what typically goes wrong (and how to prevent it), how to choose materials based on performance needs, which design rules improve strength and accuracy, and what to demand from a supplier to ensure repeatable quality. A practical comparison table, decision checklists, and an FAQ are included to help engineering and sourcing teams make confident choices.
Table of Contents
- What Are Plastic 3D Printed Components and Where Do They Fit?
- Customer Pain Points and the Root Causes
- Material Selection That Matches Real-World Use
- Printing Processes and When to Use Each
- Design Rules That Prevent Failure
- Quality Control, Tolerances, and Verification
- From Prototype to Small-Batch Production
- Cost, Lead Time, and How to Avoid Surprise Rework
- How to Choose a Supplier You Can Trust
- FAQ
- Conclusion and Next Steps
Outline at a Glance
- Define success: function, environment, load, and lifespan.
- Pick a process and material based on performance (not habit).
- Design for print: orientation, wall thickness, ribs, and clearances.
- Plan finishing early: support marks, sealing, smoothing, and color.
- Validate: dimensional checks, fit tests, and mechanical testing where needed.
- Scale carefully: repeatability, lot control, and inspection plans.
What Are Plastic 3D Printed Components and Where Do They Fit?
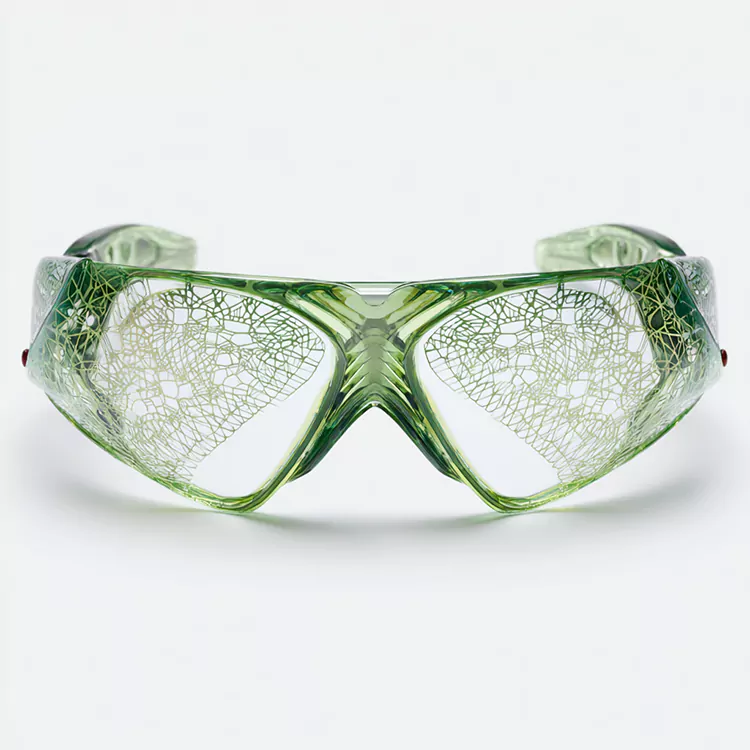
Plastic 3D Printed Components are functional or semi-functional parts produced directly from a digital model using additive manufacturing. Unlike subtractive machining (cutting material away) or injection molding (forcing melted plastic into a mold), 3D printing builds the part layer-by-layer. That changes what’s possible: internal channels, lattice reinforcement, complex shapes, and fast design iteration without new tooling.
In practice, teams use Plastic 3D Printed Components for:
- Rapid prototyping: validate fit, form, and basic function in days, not weeks.
- Engineering validation: test assemblies, airflow, ergonomics, and cable routing early.
- Low-volume production: bridge demand while tooling is in progress or when volumes stay small.
- Customization: jigs, fixtures, patient-specific or product-specific variants, and on-demand spares.
The key is honesty about the goal. A cosmetic demo model needs different choices than a heat-exposed bracket or a living hinge. The best outcomes happen when performance requirements drive the process, material, and post-processing plan.
Customer Pain Points and the Root Causes
Most frustrations with Plastic 3D Printed Components are predictable—and preventable. Here are the pain points buyers commonly run into, plus what typically causes them:
- “The part looks right but doesn’t fit.” Often caused by not accounting for shrinkage, process-specific tolerances, or incorrect clearances for mating parts.
- “It snapped during assembly.” Usually a combination of weak print orientation, thin walls, sharp internal corners, or material mismatch for the load case.
- “The surface is rough and inconsistent.” Happens when supports are placed on visible faces, finishing isn’t specified, or the process isn’t suited to cosmetic requirements.
- “The prototype worked, but batch parts vary.” Variation can come from uncontrolled powder/resin condition, inconsistent orientation, lack of inspection plans, or uncontrolled post-cure/anneal steps.
- “It absorbs moisture / deforms over time.” Some plastics need sealing or stabilization depending on environment and usage.
The good news: you don’t need perfect knowledge to avoid these. You need a disciplined process: define requirements, design for print, confirm critical dimensions, and insist on transparent quality checks.
Material Selection That Matches Real-World Use
Material choice is where many projects either become effortless—or quietly fail later. A part can “work” on a desk and still fail in the field due to heat, chemicals, UV exposure, or repetitive stress. Start by answering four questions:
- What load does it see (static, impact, cyclic fatigue)?
- What environment (temperature range, humidity, chemicals, UV)?
- What lifespan (one demo, 3 months, multi-year)?
- What matters more: strength, stiffness, toughness, flexibility, or surface finish?
Here’s a practical reference table to help align common requirements with typical material families used for Plastic 3D Printed Components:
| Requirement | What to Prioritize | Typical Material Direction | Notes to Confirm |
|---|---|---|---|
| Snap-fits, clips, living features | Toughness + elongation | Nylon family or flexible resin | Check fatigue behavior and orientation sensitivity |
| Precision fit parts | Dimensional stability | Resin-based processes or fine powder printing | Confirm tolerance plan and post-cure steps |
| Heat exposure | Heat deflection performance | High-temp resin or engineering polymers | Verify real operating temperature and safety margins |
| Cosmetic housings | Surface finish + color | Resin printing with finishing | Define acceptable support marks and finishing level |
| Chemical contact | Chemical resistance | Selected engineering plastics | Share chemical list and exposure time |
| Lightweight structural parts | Strength-to-weight | Nylon with optimized geometry | Use ribs/lattices; avoid thin unsupported spans |
Tip that saves money: if you’re ultimately switching to injection molding, ask for a print material that mimics your target molded resin’s behavior as closely as possible. That reduces “false confidence” from prototypes that behave differently than the final product.
Printing Processes and When to Use Each
Not all Plastic 3D Printed Components are created the same way. Different processes trade off surface finish, strength, detail, and scalability. Instead of memorizing acronyms, focus on outcomes:
- Need smooth surfaces and fine details? Resin-based printing can deliver crisp features, especially for compact parts, enclosures, and display prototypes.
- Need durable functional parts? Powder-based nylon printing is often chosen for toughness and production-style durability—great for brackets, ducts, snap features, and rugged housings.
- Need low-cost early prototypes? Filament-based printing is often used for quick concept models and fixture drafts, especially when aesthetics are not critical.
A useful decision rule: if your part needs to survive repeated assembly cycles or field vibration, prioritize toughness and orientation strategy over “pretty” surfaces. If your part is customer-facing, prioritize finishing and consistent surface control.
Design Rules That Prevent Failure
Designing for Plastic 3D Printed Components is less about “making it printable” and more about making performance predictable. Most failures trace back to a handful of avoidable design habits:
- Wall thickness discipline: Keep walls consistent where possible. Sudden thick-to-thin transitions can cause warping or weak zones.
- Use fillets, avoid sharp corners: Internal corners concentrate stress. Fillets reduce cracking risk and improve durability.
- Plan for orientation: Strength can vary by direction. Features that take load should be oriented to maximize layer bonding where it matters.
- Give assemblies breathing room: Clearance needs differ by process. For moving parts or press fits, define a clearance strategy and validate with a small test coupon first.
- Support-aware surfaces: If a face must look good, don’t let supports touch it. Identify “show surfaces” explicitly.
- Threads and inserts: For repeated assembly, use metal inserts or robust thread geometry rather than relying on printed threads alone.
If you’re not sure what clearance is safe, don’t gamble on the first full part. Print a small “fit gauge” with your exact mating geometry. It’s cheap, fast, and prevents expensive iteration.
Quality Control, Tolerances, and Verification
Quality for Plastic 3D Printed Components should not be a mystery box. Ask for a clear inspection approach tied to what you actually care about. A strong supplier will help you identify:
- Critical dimensions: holes, slots, datum features, and interfaces that affect assembly.
- Functional checks: fit tests, leak tests for fluid paths, or torque checks for inserts.
- Appearance requirements: acceptable texture, layer visibility, and post-processing level.
- Batch controls: consistent orientation, material lot tracking, and controlled post-processing routines.
For tight assemblies, consider requesting a simple measurement report for key dimensions. Even a small set of verified measurements can dramatically reduce back-and-forth and avoid “it should fit” debates.
From Prototype to Small-Batch Production
Many teams love 3D printing for prototypes but hesitate to use it for production. That hesitation is fair—if repeatability isn’t managed. Small-batch Plastic 3D Printed Components can be reliable when you standardize:
- Orientation and nesting: the same placement yields more consistent results.
- Post-processing: consistent curing, cleaning, annealing, and finishing steps.
- Inspection plan: defined checkpoints for each batch, not only the first article.
- Change control: locking files, version labeling, and documenting revisions.
This is also where a supplier’s engineering support matters. A good partner will flag risky geometry early and propose adjustments that preserve function while improving yield and consistency.
Cost, Lead Time, and How to Avoid Surprise Rework
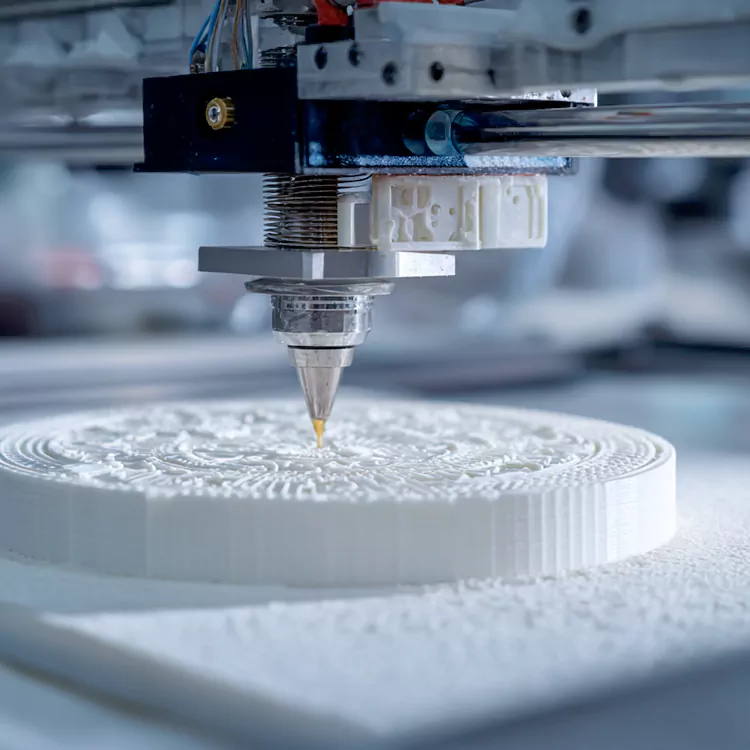
Cost in Plastic 3D Printed Components isn’t just “material + machine time.” Rework and redesign are where budgets quietly bleed. To keep projects predictable:
- Share the real use case: load, temperature, chemicals, and assembly steps. Hiding details creates wrong assumptions.
- Define finishing up front: raw vs. smoothed vs. painted vs. sealed—each changes price and timing.
- Print test coupons: a small fit/strength sample can replace multiple full-part reprints.
- Lock requirements for batches: if you want repeatability, reduce “last-minute tweaks” mid-run.
If you’re comparing quotes, ask what’s included: material grade, finishing level, inspection method, and whether assembly features (like inserts) are part of the service. Two quotes can look similar until you discover one excludes the steps you actually need.
How to Choose a Supplier You Can Trust
The supplier choice matters as much as the printer. The right partner translates your intent into a build strategy, flags risk early, and delivers parts that behave the way your team expects.
When evaluating a provider for Plastic 3D Printed Components, look for these signals:
- They ask smart questions: operating environment, assembly method, load direction, and critical dimensions.
- They propose a build plan: orientation, supports, finishing, and inspection—before they print.
- They can show consistency: sample photos, tolerance guidance, and process control habits.
- They communicate trade-offs plainly: what will be strong, what will be smooth, what will be fast.
For example, Shenzhen Honmor Precision Technology Co., Ltd. supports customers who need plastic printed parts that aren’t just “demo models,” but real components that must assemble cleanly, perform reliably, and be delivered on a schedule that engineering and sourcing teams can actually plan around.
FAQ
How durable are Plastic 3D Printed Components compared to molded parts?
Durability depends on the material, print process, orientation, and design. Some printed nylon parts can perform well for functional use, while highly polished cosmetic housings may require different processes and finishing. If you have a target molded resin, matching the prototype material behavior as closely as possible helps.
Can Plastic 3D Printed Components be used for end-use products?
Yes—especially for low volumes, customized parts, replacement components, fixtures, and specialized housings. The key is defining performance requirements and validating repeatability with an inspection plan.
What tolerances should I expect?
Tolerances vary by technology, geometry, and part size. Instead of relying on generic numbers, identify critical dimensions and request a measurement approach for those features. Fit gauges and first-article checks are cost-effective ways to reduce risk.
How do I make snap-fits work reliably?
Use a tough material, add fillets, avoid sharp transitions, design with realistic deflection limits, and align print orientation so the highest stresses don’t split across weak layer directions. Testing a small snap-fit coupon before printing the full assembly is a smart shortcut.
Will the surface look “production-ready”?
It can, but you must specify the finish level. Raw prints may show texture or support marks. Smoothing, sealing, or coating can improve appearance and feel—each with cost and lead time trade-offs.
How do I reduce warping or deformation?
Keep wall thickness consistent, avoid large flat unsupported surfaces, use ribs where appropriate, and work with a supplier to plan orientation and post-processing. Certain materials benefit from stabilization steps depending on environment and geometry.
Conclusion and Next Steps
Plastic 3D Printed Components are most powerful when they’re treated like engineering parts—not just “quick prints.” Define the real-world requirements, choose materials and processes intentionally, design with orientation and tolerances in mind, and insist on a clear quality plan. Do that, and you can shorten development cycles, reduce tooling risk, and ship better products with fewer surprises.
If you’re evaluating Plastic 3D Printed Components for prototypes or small-batch production and want a clear recommendation based on your application, materials, and tolerance needs, contact us to discuss your drawings and performance targets.
Related News
- What Makes Complex 5 Axis CNC Machining Parts the Backbone of Advanced Manufacturing?
- Why High Tolerance Titanium Turned Parts Are the Backbone of Aerospace and Medical Innovation?
- Why Are 5-Axis CNC Machined Auto Parts the Smart Choice for Complex Automotive Components?
- Why Are CNC Aluminum Turned Parts the Preferred Solution for Lightweight, High-Precision Components?
- Can Fast 3D Printed Prototypes Really Accelerate Your R&D and Reduce Costs?
- CNC Prototype Metal Components: Why Are They Essential for Your Next Project
Leave me a message