Why Choose CNC Prototype Plastic Parts for Faster, Lower-Risk Product Iteration?
If your prototype looks good on screen but fails in your hand, you’re not alone. This guide shows how CNC Prototype Plastic Parts can help you validate fit, function, and finish with fewer surprises—and how to avoid the common traps that waste time and budget.
Article Abstract
Teams often get stuck between “too rough” prototypes and “too expensive” pilot runs. CNC Prototype Plastic Parts are a sweet spot: they can match real-world geometry, tolerances, and surface expectations without forcing you to commit to hard tooling.
- Reduce rework: catch fit and assembly issues before they become production problems.
- Improve decision speed: test materials, finishes, and design changes quickly.
- Control cost: prototype only what you need, with predictable trade-offs.
- Ship confidently: build samples that feel like the final product, not a “concept model.”
Table of Contents
- What are CNC prototype plastic parts and when do they matter most?
- CNC vs. other prototype methods: what customers usually regret
- Top customer pain points and how to prevent them
- Material selection table: choosing plastics that behave like the final part
- Tolerances, fits, and drawing tips that save weeks
- Surface finish and appearance: making samples presentation-ready
- A fast DFM checklist before you request a quote
- A realistic workflow for ordering CNC Prototype Plastic Parts
- How to choose a manufacturing partner without guesswork
- FAQ
Outline
| Section | What you’ll get | Customer problem it solves |
|---|---|---|
| Basics | Clear definition + best-use scenarios | “I’m not sure which prototype type I need” |
| Comparisons | When CNC wins and when it doesn’t | “We chose the wrong method and had to redo everything” |
| Pain point prevention | Practical fixes for tolerance, lead time, and cost blowups | “Our sample doesn’t fit / arrive on time / match expectations” |
| Material & finish | Material guide + finish options | “It looks right but performs wrong” |
| Ordering workflow | A step-by-step process to reduce surprises | “Quotes vary wildly and I don’t know why” |
What are CNC prototype plastic parts and when do they matter most?
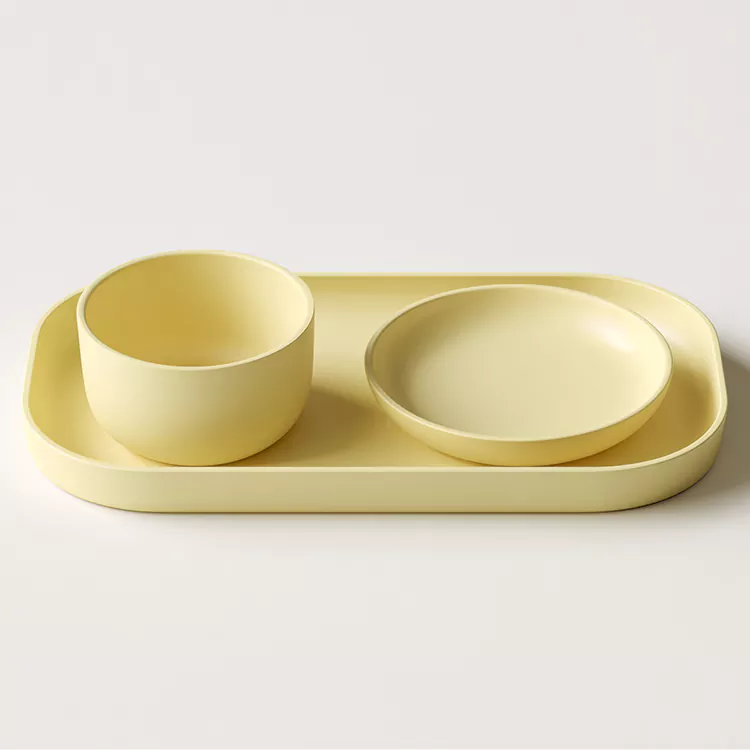
CNC Prototype Plastic Parts are prototype components machined from solid plastic stock (like ABS, POM, acrylic, nylon, PC, PEEK, and more) using computer-controlled milling and turning. Unlike a “display model,” these parts can be built to functional tolerances, assembled with other components, and tested in real environments—sometimes even used as short-run pre-production samples.
They matter most when your project has tight interfaces (snap fits, seals, hinges, threaded inserts), requires a stable surface finish (customer demos, investor reviews, trade shows), or needs repeatability (multiple identical samples for testing or stakeholders). If you’ve ever said “it worked in CAD,” CNC prototypes are often the fastest way to find out whether it works in your hands.
Best-fit situations
- Assembly validation with mating parts
- Dimensional stability and flatness requirements
- Polished appearance for demos or user trials
- Functional testing with real fasteners and inserts
Not always the best choice
- Ultra-large parts where stock material cost is high
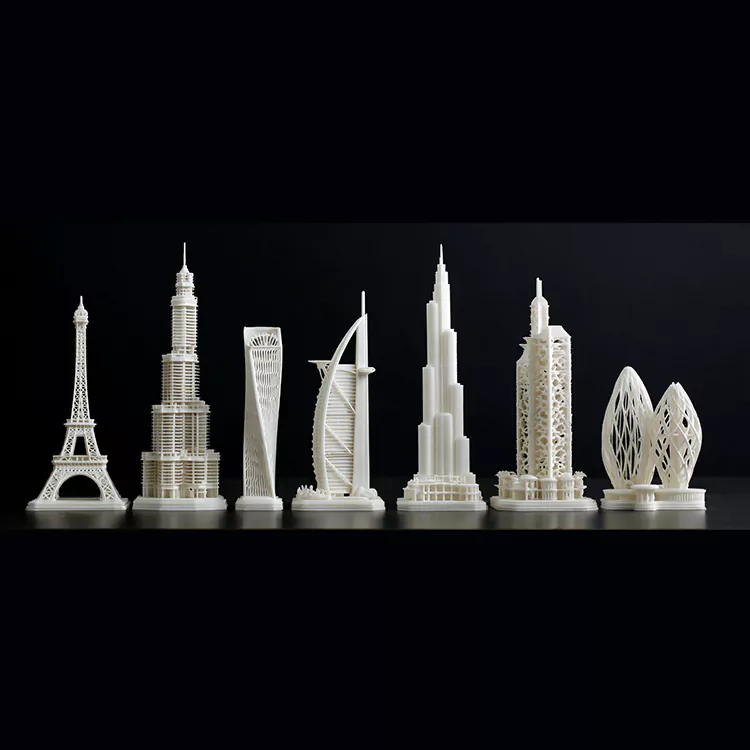
- Complex internal lattices (better suited to additive methods)
- When you need true molded behavior (flow lines, sink, knit lines)
CNC vs. other prototype methods: what customers usually regret
Many teams choose a prototype method based on what’s fastest or what they used last time—then regret it when the sample doesn’t answer the real question. Here’s a grounded way to think about it:
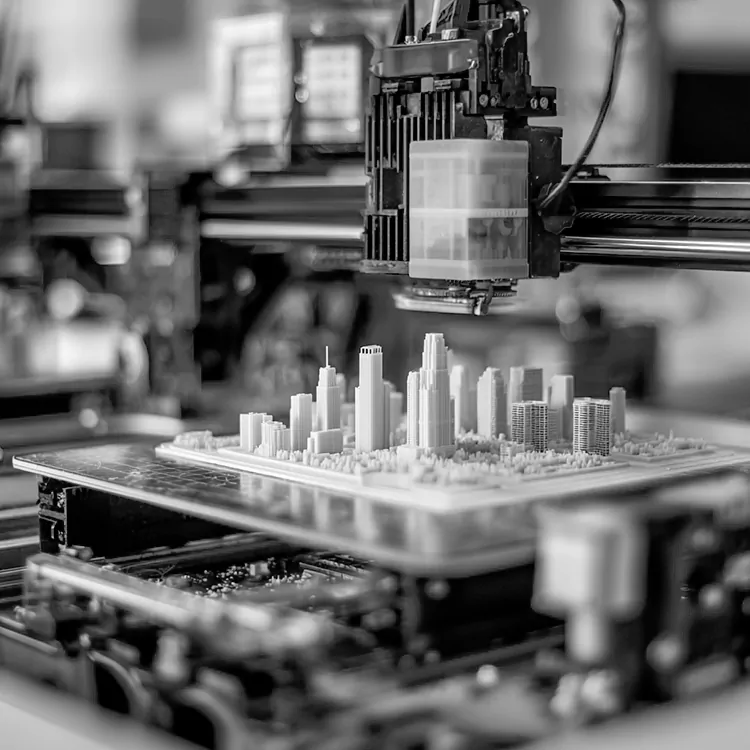
- Additive printing: great for speed and early geometry, but often weak on tolerance, surface finish, and real-world feel—especially for assemblies.
- Vacuum casting: good for small batches and certain appearances, but can vary between units and may not match the exact performance of your target plastic.
- Soft tooling / rapid tooling: closer to production behavior, but higher upfront cost and longer setup—great when you’re already close to final design.
- CNC machining: strong for fit, function, repeatability, and controlled finishes—especially when you’re still iterating.
A common regret: ordering a beautiful-looking sample that can’t be assembled, can’t hold a tolerance, or can’t survive basic handling. If your goal is “prove it works,” CNC Prototype Plastic Parts typically deliver more reliable answers per dollar.
Top customer pain points and how to prevent them
Most prototype frustration comes from mismatched expectations, not bad intentions. Below are the issues that show up again and again—and the fixes that actually work.
-
Pain point 1: “The parts don’t fit.”
Fix it by defining critical-to-fit dimensions, calling out datums, and specifying realistic tolerances where they matter most. Also share mating part data (or at least interface dimensions) so the machinist can sanity-check. -
Pain point 2: “The quote is higher than expected.”
Fix it by removing unnecessary tight tolerances, avoiding deep narrow pockets, increasing internal radii, and consolidating features when possible. Complexity drives cycle time, and cycle time drives cost. -
Pain point 3: “Lead time keeps slipping.”
Fix it by clarifying what’s flexible: material alternatives, finish level, tolerance bands, or part segmentation. A quick decision on a substitute material or finish can save days. -
Pain point 4: “The surface looks wrong for demos.”
Fix it by specifying your aesthetic target early (matte vs. glossy, transparent vs. translucent, texture direction) and agreeing on sample photos or a reference standard before machining starts. -
Pain point 5: “We changed the design and everything reset.”
Fix it by versioning files clearly and listing revisions in a short change log (what changed, why, what matters). This reduces miscommunication more than any meeting.
Material selection table: choosing plastics that behave like the final part
Material choice is where prototypes either become useful or misleading. The “right” plastic depends on what you’re trying to learn: strength, wear, transparency, chemical resistance, heat performance, or simply appearance. Below is a practical starting point for CNC Prototype Plastic Parts.
| Plastic | Strength & wear | Heat & environment | Finish & look | Typical prototype use |
|---|---|---|---|---|
| ABS | Balanced, easy to machine | Moderate heat resistance | Good for painting, smooth finishes | Housings, consumer product shells |
| POM (Acetal/Delrin) | Excellent wear, low friction | Stable in many environments | Clean machined appearance | Gears, sliding parts, functional fixtures |
| Acrylic (PMMA) | Rigid but more brittle | Moderate; avoid heavy impact | Great clarity when polished | Optical covers, transparent panels |
| Polycarbonate (PC) | High impact resistance | Better heat tolerance than many plastics | Transparent options; can be finished well | Protective windows, tough clear parts |
| Nylon (PA) | Tough, good fatigue resistance | Moisture can affect size | Often slightly textured feel | Clips, brackets, durable components |
| PEEK | High performance, wear resistant | Excellent for heat/chemicals | Functional industrial finish | Demanding engineering validation |
Quick tip: if you’re validating fit, choose a dimensionally stable plastic first. If you’re validating feel and appearance, choose a plastic that finishes similarly to your target production resin.
Tolerances, fits, and drawing tips that save weeks
Tolerances are where prototypes either accelerate your schedule or quietly sabotage it. The goal isn’t to make everything ultra-precise—it’s to make the right things precise. If you only do one thing, do this: mark which dimensions are truly critical to assembly.
What to include in your RFQ package
- STEP + PDF drawing (with revision)
- Critical dimensions highlighted
- Fit intent: slip fit / press fit / clearance
- Thread requirements (standard, depth, class if known)
- Insert requirements (type, size, location)
- Surface expectations (machined, bead blast, polish)
Design tweaks that reduce cost fast
- Increase internal corner radii where possible
- Avoid very deep, narrow pockets
- Standardize hole sizes to common tools
- Split complex parts into simpler sub-parts (when acceptable)
- Don’t over-tolerance non-critical surfaces
A subtle but powerful practice: define datums and measurement intent. “This face must be flat to mate with a gasket” is more actionable than “make it accurate.” When a shop understands intent, they can choose machining strategies that meet your goal without inflating cost.
Surface finish and appearance: making samples presentation-ready
If you’re bringing prototypes into a customer meeting, appearance matters. But “nice finish” can mean different things to different people. Be specific: do you want a matte, uniform look? A glossy showcase surface? A transparent window with optical clarity?
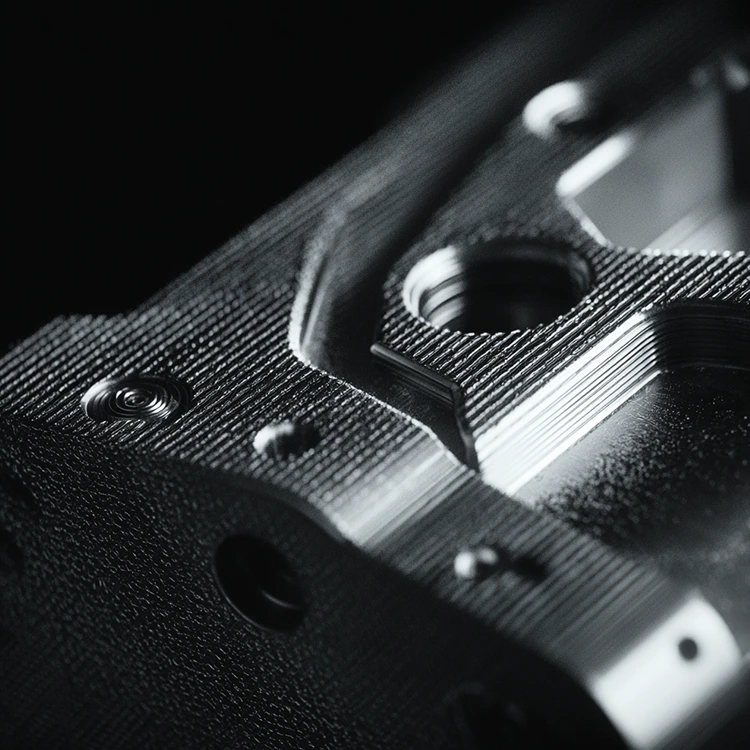
- Machined finish: visible tool paths; great for functional checks and fast turnaround.
- Bead blasted: more uniform matte look; hides minor machining marks.
- Polished: best for clear plastics like acrylic/PC when clarity is important.
- Painting / coating: useful for brand-color demos, but discuss adhesion needs early.
- Texturing direction: for customer-facing surfaces, specify the “show side” and preferred grain direction.
Expectation setter: prototypes are about answering questions. If your question is “will customers love the look and feel,” plan finish requirements up front so your CNC Prototype Plastic Parts don’t accidentally look “unfinished.”
A fast DFM checklist before you request a quote
A short checklist can prevent long email chains. Run through this before you send files out, and you’ll get faster, cleaner quotes with fewer surprises.
- Define the goal: fit check, functional test, appearance demo, or pre-production sample?
- Confirm material intent: “similar stiffness to ABS” is different from “exactly POM.”
- Mark critical features: sealing surfaces, snap interfaces, bearing seats, alignment pins.
- Choose a finish level: functional-only vs. presentation-ready.
- Plan assembly: inserts, threads, adhesives, ultrasonic weld areas, or fasteners.
- Set quantity logic: 1 for concept validation, 3–5 for iteration + testing, 10+ for field trials.
- Version control: file names that clearly show revision and date.
A realistic workflow for ordering CNC Prototype Plastic Parts
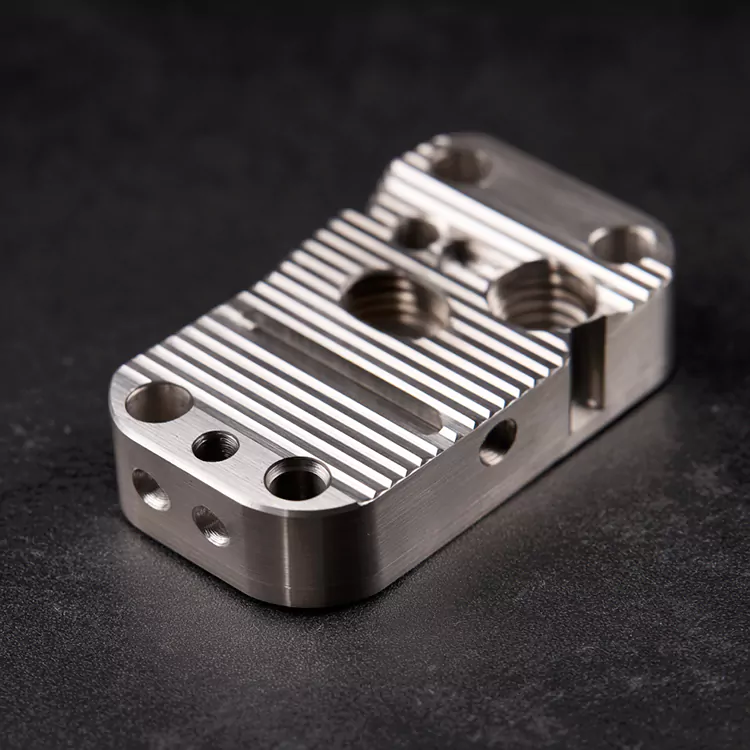
A smooth prototype order usually follows a predictable rhythm. Here’s a workflow that protects both sides (you and the manufacturer) from misunderstandings:
- Share the essentials: CAD files, drawings, target material, quantity, finish, and your “top 3 concerns.”
- Get a quote with clarifying notes: ask what assumptions were made (tolerances, finish, stock size).
- Confirm critical dimensions: if needed, request a quick sanity review before machining begins.
- Production + in-process checks: critical features measured as the job runs, not only at the end.
- Final inspection + photos: especially useful for cosmetic surfaces or transparent parts.
- Shipment + feedback loop: small improvements here speed up your next revision dramatically.
The best prototype suppliers don’t just “make parts”—they help you avoid making the wrong parts twice. That’s the real value of dependable CNC Prototype Plastic Parts.
How to choose a manufacturing partner without guesswork
Choosing a supplier shouldn’t feel like gambling. You can reduce risk quickly by asking questions that reveal capability and communication quality—especially for plastics, where machining behavior and finishing expectations vary a lot.
- Can you recommend a plastic based on my goal? A strong partner will ask about function, environment, and appearance before naming a material.
- What’s your plan for critical dimensions? You want to hear how they will inspect and control the features that matter most.
- How do you handle revision changes? A clear process for version control prevents costly mix-ups.
- What finishes are realistic for my plastic? Honest expectations beat optimistic promises.
- Can you share typical pitfalls you see in similar parts? Experience shows up in prevention, not just production.
If you want a partner that focuses on practical communication and consistent execution, Shenzhen Honmor Precision Technology Co., Ltd. supports prototype plastic machining for teams that need fast iteration, clean finishes, and predictable results—especially when your prototype must behave like a real product, not a concept.
FAQ
How many CNC Prototype Plastic Parts should I order for a first iteration?
If you’re validating geometry and fit, 1–2 parts may be enough. If you’re testing assembly, tolerance stack-up, or user handling, 3–5 parts is often a smarter starting point. For field trials or stakeholder distribution, consider 10+ so you can learn from variation and real use.
Will CNC prototypes match injection molded parts exactly?
CNC prototypes can match geometry, tolerance, and many surface expectations, but they don’t replicate molded phenomena like flow lines, sink, or fiber orientation. If your risk is “does it assemble and function,” CNC is excellent. If your risk is “does it mold correctly,” you may eventually need tooling-based samples.
What files should I send to get an accurate quote?
Send a STEP file plus a PDF drawing that highlights critical dimensions, tolerance requirements, material, finish, and quantity. If there are mating parts, include interface dimensions or a simplified assembly view so the shop understands fit intent.
How can I reduce cost without making the prototype useless?
Focus tight tolerances only on critical interfaces, increase internal radii, avoid deep narrow pockets, and standardize hole sizes where possible. Also decide whether cosmetic finish truly matters for this revision—sometimes a functional finish is perfect for early learning.
Can I get clear or “glass-like” plastic prototypes?
Yes—materials like acrylic or polycarbonate can be machined and polished for clarity. The key is agreeing on the clarity target and the viewing surface(s) before machining. Clear parts also benefit from careful handling and protective packaging to avoid scratches.
Closing thoughts
Prototypes should remove uncertainty, not create new ones. When you need accurate fit, reliable function, and a finish that’s good enough to show, CNC Prototype Plastic Parts can be a direct path from “idea” to “decision.” The key is clarity: define your goal, highlight what’s critical, and work with a partner who communicates assumptions and constraints early.
Ready to turn your CAD into parts you can actually trust?
Share your files and your top concerns, and we’ll help you choose the right material, tolerance strategy, and finish for your next prototype cycle. If you want fewer surprises and faster iterations, contact us to discuss your CNC Prototype Plastic Parts project.
Related News
- What Makes Complex 5 Axis CNC Machining Parts the Backbone of Advanced Manufacturing?
- Why High Tolerance Titanium Turned Parts Are the Backbone of Aerospace and Medical Innovation?
- Why Are 5-Axis CNC Machined Auto Parts the Smart Choice for Complex Automotive Components?
- Why Are CNC Aluminum Turned Parts the Preferred Solution for Lightweight, High-Precision Components?
- Can Fast 3D Printed Prototypes Really Accelerate Your R&D and Reduce Costs?
- CNC Prototype Metal Components: Why Are They Essential for Your Next Project
Leave me a message